Google Earth/KMZ Overlays: Flood Zones, State Plane and UTM Zones

Google Earth KMZ file of State Plane NAD 83 Zones


A CAD/Carlson Software buddy – Dent Cermak – passed along a response from FEMA to questions regarding the features available on FIRM maps. The FEMA rep recommended using National Flood Hazard Layer data to view flood data overlays on aerial, street and other imagery. The NFHL data is available  via an online viewer here: http://fema.maps.arcgis.com/home/webmap/viewer.html?webmap=cbe088e7c8704464aa0fc34eb99e7f30.

Another way to access the NFHL data is to download it as a KMZ file that can be opened in Google Earth: https://hazards.fema.gov/femaportal/wps/portal/NFHLWMSkmzdownload.

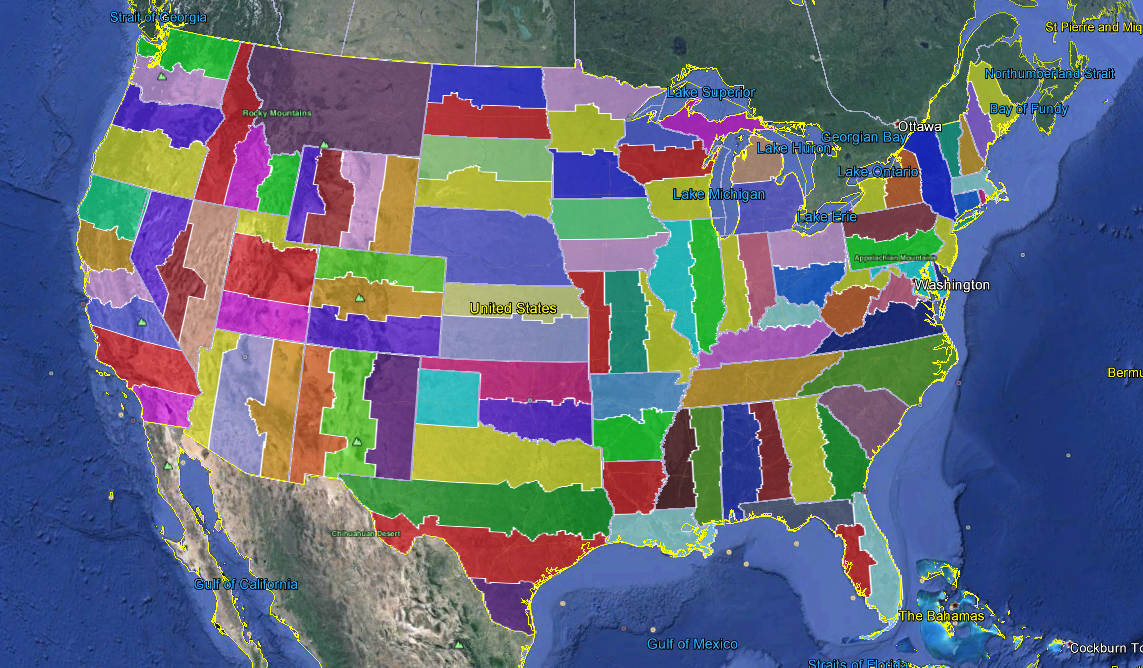
So, I thought this was pretty cool and when I asked for Dent’s permission to share on my website, he passed along a couple more .kmz files that were even more cool! These are courtesy of Ladd Nelson at Carlson Software.

If you have Google Earth installed on your computer, you only have to double-click to open these files in Google Earth.

KMZ file with US State Plane NAD83 Zones overlay – ZIP file

KMZ file with UTM Zones overlay – ZIP file


Did you know… How easy it is to spruce up your dimensions?

Anyone who has worked with AutoCAD for any length of time can usually create a standard dimension object. However, if you pay close attention to two items in the Object Properties dialog box, you can get very creative with the way simple dimensions are displayed.

For instance, in the image just below, you can see that there are two Object Properties items highlighted in yellow. One is the “Measurement” and the other is the “Text override”. The Measurement is the measured distance between the dimension definition points (DEFPOINTS) and is read-only. You can also see that the current value for Text override is “< >”. Whenever the less-than and greater-than signs are shown as the Text override value, the Measurement will be substituted for the symbols when displayed in the drawing.

Dimension Example

To add just a little more detail to the dimension, you can add descriptive text before or after the “< >” in Text override as shown in the next example below. As long as you keep the “< >”, the correct measured distance will always be displayed as part of the dimension text:

Dimension Example 2And, making it fancier… In the example below, I have added a “P” between < > and “9 SPACES”. This is like pressing Enter to go to a second line and has the effect of stacking two lines of text above the dimension line:

Dimension Example 3

And, finally, one more option. Rather than entering “P”, if you enter “X” as part of your Text override, you will stack the text partially above and partially below the dimension line.

Dimension Example 4The “P” and “X” modifiers can also be used in combination to create 3 or more lines of text and allowing you to control how many lines appear above and how many appear below the dimension line.