Carlson Self-Study Training Manuals
includes print and digital version*
$298.00
*For a limited time, purchase the hard-copy, print version and receive access to our digital version (beta release)
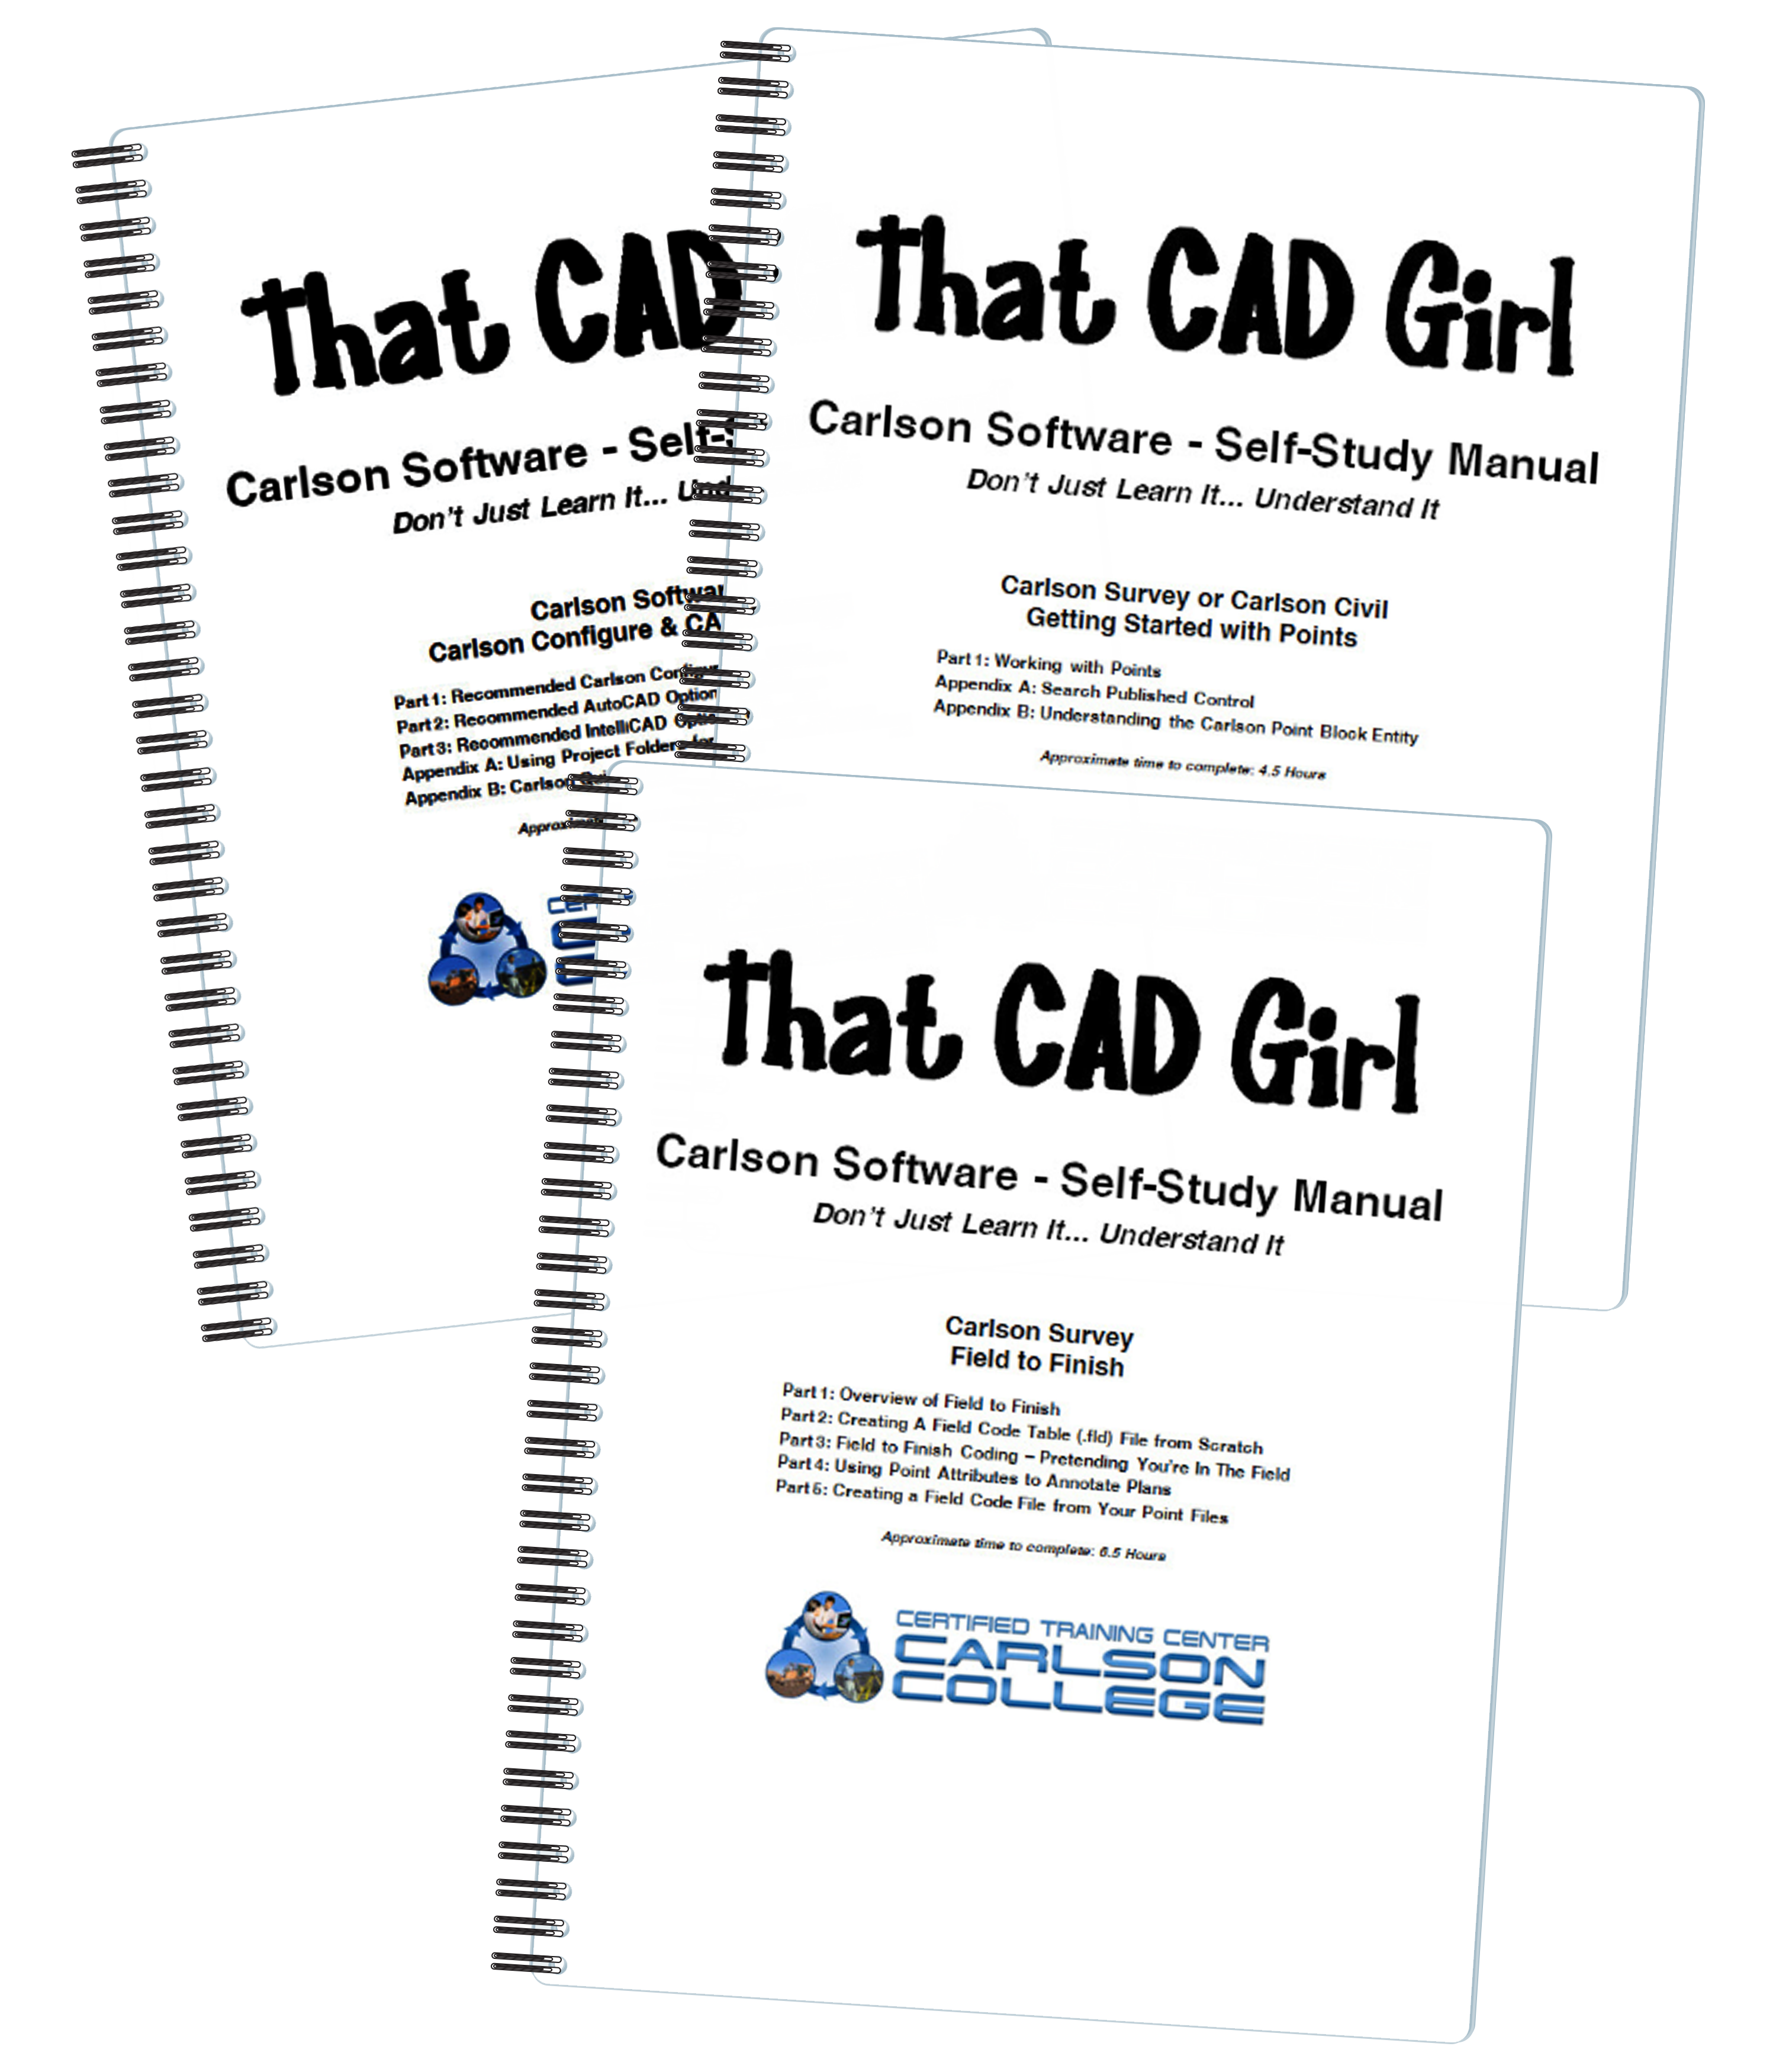
That CAD Girl Self Study Manuals are the perfect complement to your purchase of Carlson Software. The books were written when 2013 software was current but still work well with more current versions of the software.
There are 3 lessons in two books and can be purchased together, as a bundle, or separately:
Carlson Self-Study Training Manuals (2-book bundle)
Carlson Self Study Manual – Configuration & Overview of Points (one book, two lessons)
Description
More about this product:
View a sample of the Getting Started With Points manual here
View a sample of the Field to Finish manual here
Book 1 contains two lessons…
Lesson 1: Carlson Configuration and Settings
Approximately 0.5 hours of instruction
When first launching Carlson Software, you can make changes to the configuration and options that will apply to the current and future drawing sessions. Some of the settings and options are specific to Carlson Software and some are specific to AutoCAD® training or IntelliCAD®.
Part 1 of this lesson contains Carlson Software‐specific settings and is applicable to anyone using Carlson with either an AutoCAD or IntelliCAD platform.
Part 2 contains AutoCAD‐specific settings.
Part 3 contains IntelliCAD‐specific settings.
Appendix A explains how to use the Project Folder method of Project/Data File Setup as an alternative to the Drawing Folder method.
Appendix B explains the use of Carlson Quick Keys and how they interact with AutoCAD and IntelliCAD command Aliases.
Lesson 2: Carlson Survey Getting Started with Points
Approximately 4.5 hours of instruction
This lesson starts by loading a configuration file with recommended settings and options for the program. We will also open a few toolbars that may be needed for the exercises.
We will then start a new project and new drawing from a text/ascii file and will draw the points with the Draw‐Locate Points command. Various point editing and reporting commands and features will be used. Some of these features include: Point Groups, Tag Non‐Surface Points, Translate Points and Rotate Points. In wrapping up Part 1, we will export points to a new text/ascii file and also export the point data to a LandXML (.xml) file. Please note that Carlson’s Field to Finish is covered in a separate lesson.
Appendix A covers, as a separate exercise, the new Esri‐powered command Search Published Control that allows you to search published control data that is freely available on the National Geodetic Survey (NGS) website and then store the retrieved information to the active Coordinate File.
Appendix B provides a separate, in‐depth, explanation of the Carlson Point Block entity and how its Symbols and Point Attributes (Point Number, Elevation and Description) are controlled with respect to Layers.
Carlson Field to Finish
Approximately 6.5 hours of instruction
This lesson starts by loading a configuration file that contains recommended settings and options for the program. We will also open a few toolbars that may be needed for the exercises.
Part 1 provides an overview of the Field to Finish feature of Carlson® Survey. We will start a new project and new drawing from a text/ascii file. The text file is very similar to the one used in Lesson 2a – Getting Started with Points except that it has been slightly modified to include special linework coding. We will use Field to Finish so that the points, symbols and linework are automatically generated and drawn on their proper Layers. Field to Finish will also create Point Groups and tag some points as Non‐Surface so they can be easily excluded when we build a surface model.
In Part 2 we will create a new Field to Finish Code Table that includes a variety of Codes that can be used to create Symbols, 3d and 2d Linework.
In Part 3 we will simulate collecting more than 70 survey points in the field and then processing them with the Field to Finish Code Table created in Part 2. With this Code Table, we will collect points for features such as roadways, buildings, trees and property corners. We will also demonstrate the use of Special Codes for labeling descriptive information such as ½” Iron Pipe
and 12” Oak Tree.
In Part 4 we will use the Separate Attribute Layers functionality within Field to Finish so that Symbols and Descriptions for points we process can be used to label features on printed plans.
In Part 5 we will go through the steps required take some of your existing point files to make a new Field to Finish Code Table for your company.
Please call for orders outside the United States. Will not accept overseas order through the store – call or email
Written when 2013 was current
All sales are final. Other Terms and Conditions of the sale can be found here.

